Introduction: Why I Started To Draw With Procreate
Here is the starting recipe I wish someone had given me eighteen months ago: open Procreate, create a new canvas, pick one simple brush, learn the two finger tap to undo, and stay on a single layer for a week. That is it. Everything else can wait.
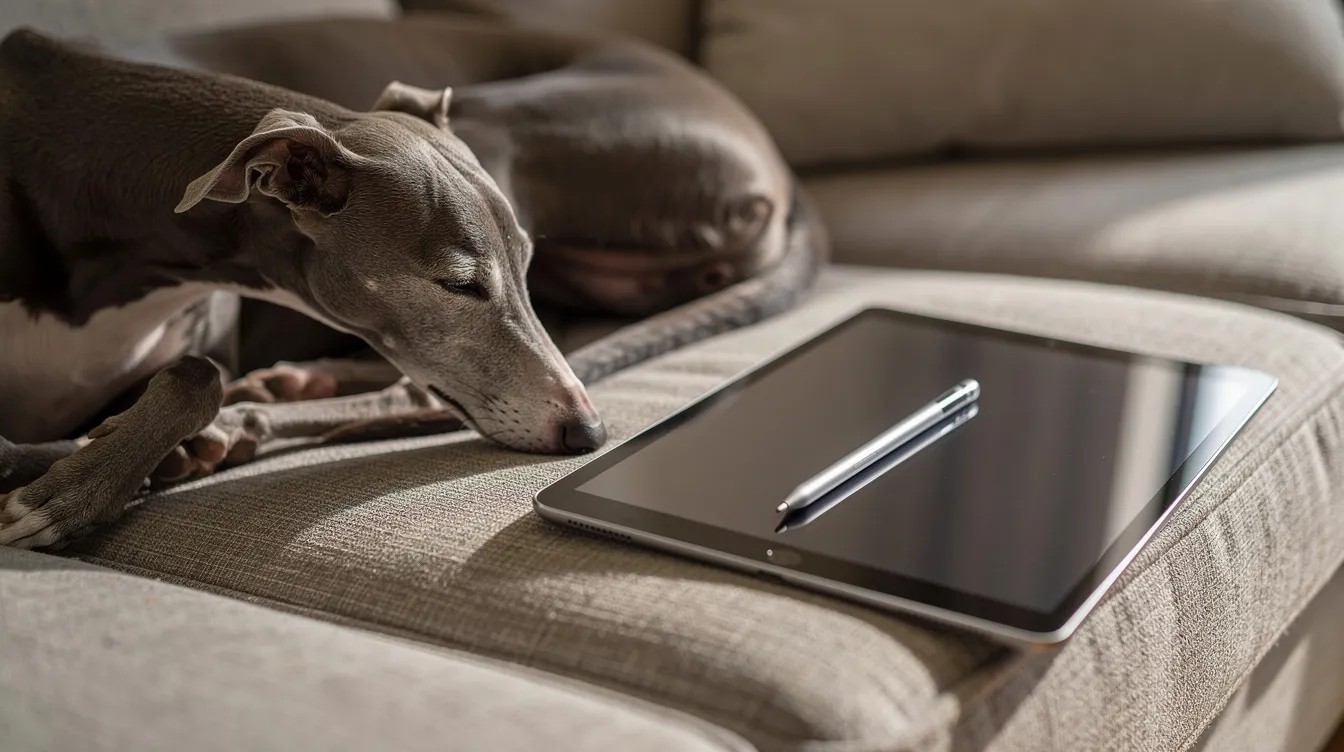
I am Marisol. I write Two Finger Undo from my couch in Tucson, Arizona, where I spend my days estimating heating and cooling jobs for a small contractor. My life is spreadsheets and ductwork, not art supplies. About eighteen months ago I bought a secondhand iPad from a coworker’s cousin because I wanted to draw my rescue greyhound, Biscuit, without burning through a sketchbook every week. That first night I opened Procreate and stared at a blank canvas for a solid minute before I made a single mark. It can feel intimidating, and I want to say that out loud so you know it is normal.
Drawing with Procreate as a total beginner feels like learning to write with your non-dominant hand while someone watches. The screen is slippery, your lines go sideways, and the menus have more icons than a spaceship cockpit. But here is the thing: digital art forgives you constantly. You tap two fingers and the mistake disappears. Procreate even records the entire drawing process as a time-lapse video, so later you can watch yourself struggle and laugh about it. I am a hobbyist sharing what I have tried, not a teacher or an expert, and this article is a step by step guide you can follow tonight. For readers who want background on what the app is and how it came about, the Procreate entry on Wikipedia is a quick read, though I would rather you spend that time drawing.
What You Need To Start Drawing In Procreate Today
You can start creating today with very little gear and zero art school. Procreate only runs on iPad (there is a separate Procreate Pocket version for iPhone), and it works best with a stylus, though even your finger will do in a pinch.
My actual setup: a used 10.5 inch iPad from 2019, a cheap active stylus I paid about thirty dollars for, and the plain glass screen it came with. I never bothered with a matte screen protector, though plenty of hobbyists swear by one for the paper-like grip. Eventually I picked up an Apple Pencil, and the jump in pressure sensitivity was real. Apple Pencil pressure sensitivity enhances digital drawing in ways a budget stylus simply cannot match, like varying line thickness just by pressing harder. But I survived six months without it. Procreate supports high-resolution canvases for detailed artwork, and even my older iPad handles moderate sizes fine. For minimum requirements, check the App Store listing for the current iPadOS version, because it changes with updates.
Is Procreate free to use? I have a separate article that covers the cost question, so I will not repeat it here except to say it is a one-time purchase, not a subscription.
When comparing an Apple Pencil to a cheap stylus, what matters most early on is compatibility with your iPad model and a tip that does not feel scratchy on glass. Line control, palm rejection, and tilt sensitivity are all better on the Apple Pencil, but if you are not sure you will keep drawing, wait a month. You will know what bothers you before you upgrade. If you are shopping, I also wrote up choosing a beginner stylus with the trade-offs I looked at.
One more thing: prop the iPad on a cheap stand at a slight tilt. Drawing flat on a table gave me a stiff neck and noticeably worse lines. Turn on Do Not Disturb, keep the charger handy, and your setup is complete.
Quick gear checklist:
-
An iPad that runs the current version of Procreate (check the App Store listing for yours).
-
Any stylus, even a budget one, so you are not painting with your fingertip.
-
A stand or a pillow that angles the screen toward you.
-
A charger within reach for longer sessions.
Procreate For Absolute Beginners: First Five Minutes
Procreate has a lot of features. Over 200 brushes, a customizable QuickMenu for quick access to frequently used tools, drawing assists, animation, and more. Ignore all of it for five minutes.
Open Procreate. In the top right of the gallery, tap the plus icon and choose Screen Size or another standard template. Do not agonize over dimensions right now. I will say this plainly: choosing a huge canvas (like 6000 by 6000 pixels) means fewer layers before the app slows down, which I learned the annoying way when my iPad started lagging on a drawing I had spent an hour on. A modest canvas keeps things smooth.
Here is the basic layout in plain English. Along the top right you will find the brush, smudge, and eraser icons, plus the color circle. Top left has four icons: the wrench (Actions menu), the magic wand (Adjustments), the ribbon (Selection), and the arrow (Transform). On the left sidebar are two sliders, one for brush size and one for opacity. That is the cockpit. Pick one basic pencil style brush from the brush library and stay with it, because scrolling through dozens of different brushes is a very effective way to avoid drawing anything.
At this stage, do not touch layers, clipping masks, blend modes, or animation. Just draw. Procreate includes gesture shortcuts to improve workflow efficiency, and you will pick those up in the next section. For now, make marks on the screen and get comfortable.
What screenshots for this section should show:
-
The gallery view with the plus icon circled.
-
The canvas size picker with Screen Size highlighted.
-
An annotated blank canvas with arrows pointing to brush, colors, layers, and gallery button.
-
The sidebar sliders labeled size and opacity.
The Beginners Series: A Simple Plan To Learn Procreate
Over the past eighteen months I wrote an informal beginners series on this blog: a sequence of Procreate tutorials I followed myself, making mistakes and finishing pieces even when they looked rough. This article condenses that whole process into one roadmap you can follow in order or jump around in.
The official Procreate Beginners Series from Procreate’s education site also covers similar ground and includes four essential parts, each with videos and a workbook. Part One covers basic tools like brushes and gestures, and the estimated lesson time for Part One is 30 to 45 minutes. My own version breaks down the same way:
-
Fundamentals: Draw a simple cactus doodle. Learn brushes, color, and intuitive gestures.
-
Painting Tools: Paint a night desert sky. Discover blend modes, texture, and light.
-
Editing Tools: Make a poster style quote. Use Selection, Transform, and Adjustments to rescue things.
-
Actions and Animation: Create a flickering star GIF. Touch the Actions menu, drawing guides, and Animation Assist.
My first-week rule was simple: I did not follow a course. I drew something small every day and finished it, even when it was bad. Finishing taught me more than any tutorial.
The Fundamentals: Brushes, Color, and Basic Tools
Mastering a few basic tools in Procreate beats knowing every feature badly. Procreate offers over 200 brushes for digital art, which is a treasure trove but also a trap. For your first weeks, pick three and ignore the rest:
-
6B Pencil for rough sketching. It feels like graphite on paper.
-
Studio Pen for clean line art. Smooth, consistent, forgiving.
-
Medium Airbrush for soft shading and gradients.
Procreate supports customizable brushes for unique styles, and the Brush Studio allows for extensive brush customization if you ever want to tweak pressure curves or grain. You can even import brushes from other artists. But none of that matters yet.
The Color panel has several views. I started with the Disc view because it felt intuitive, and I now use the HSB sliders for more control. The HSB color model allows precise color adjustments in Procreate by letting you dial hue, saturation, and brightness independently. ColorDrop fills enclosed areas with color: just drag the color circle from the top right corner into a closed shape on the canvas.
The Eraser works like a brush with a delete head. The Smudge tool blends colors for smooth transitions, which I use constantly for sky gradients. Pick a soft brush for smudging and keep the pressure light.
Gestures to practice for ten minutes:
-
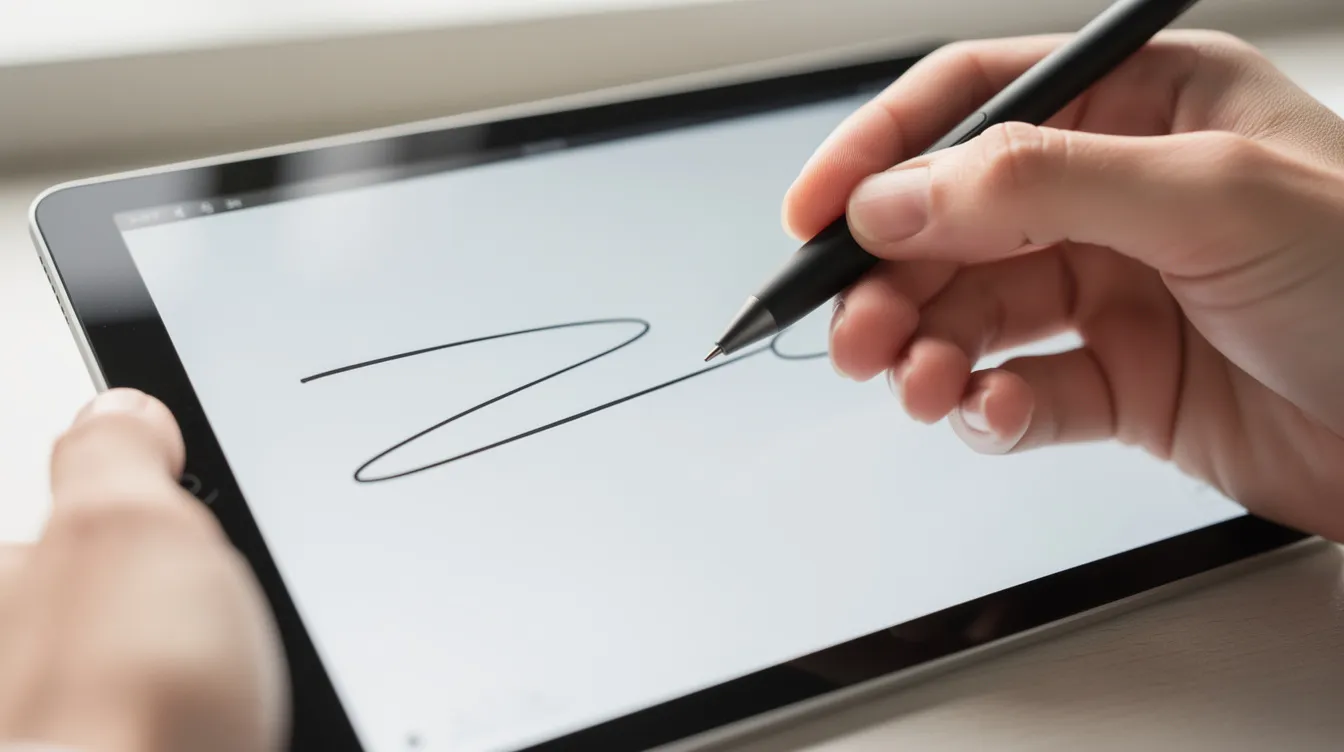
Two finger tap to undo. Tap and hold to repeat rapidly. This is the gesture behind this blog’s name.
-
Three-finger tap redoes the last undone action in Procreate.
-
Pinch with two fingers to zoom in and out.
-
Twist with two fingers to rotate the canvas. Rotating so your hand pulls toward you helps smooth curves.
-
Three finger swipe down to open the copy and paste menu.
-
Draw and hold: pause at the end of a stroke without lifting the stylus and Procreate snaps it to a clean line or shape. It is useful and a bit startling the first time.
Fixing shaky lines:
-
Draw faster than feels safe. Slow, careful strokes are the main cause of wobble.
-
Raise Streamline a little in the brush’s Stabilization settings (too much makes lines lag behind your hand).
-
Draw from the shoulder, not just the wrist.
-
Zoom out. Rough lines often look fine at full view.
The Procreate Handbook lists every gesture and menu, and I still return to it when I forget where something lives.
Understanding Layers Without Melting Your Brain
For my first week I drew on a single layer deliberately, because I wanted to learn the brushes and gestures without juggling anything else. On days six and seven I added a second layer, put my sketch on one and tried cleaner lines on the other. The moment I hid the sketch layer and saw only the clean lines, something clicked.
A layer is like a clear plastic sheet. Stack several of them and you see the combined picture, but you can lift any one sheet and erase, repaint, or move it without wrecking the rest. Procreate allows multiple layers for independent editing, which is why digital art feels safer than paper. Using layers helps manage complex artwork efficiently, especially as your drawings get more detailed.
Here is a beginner layer setup that will carry you for months:
-
Layer 1 (bottom): Flat color fill.
-
Layer 2: Rough sketch at low opacity.
-
Layer 3: Clean line art on a new layer above the sketch.
-
Layer 4 (optional): Shadows and highlights.
To open the layers panel, tap the icon that looks like two overlapping squares in the top right. Add a layer with the plus button. Rename it by tapping the layer name. Hide it by unchecking the visibility box. Lower opacity by tapping the small N (which stands for Normal, the default blend mode) and sliding the bar. Procreate’s Layers menu enables non-destructive editing of artwork, meaning you can always go back and change things.
Now for two features I did not touch until around month three, and I never felt behind. Alpha Lock locks a layer’s transparency so you can only paint on pixels that already have content. Useful for adding texture to a shape without spilling outside its edges. Clipping masks work differently: create a new layer above your flat color, set it as a clipping mask, and paint shadows or highlights that automatically clip to the filled area below. Clipping masks can add textures without altering base layers, which keeps your original color safe. Layer masks also enable non-destructive edits in Procreate, giving you even more flexibility.
Procreate supports over 15 blend modes for layers, but you do not need them yet. Just know they exist under that little N letter.
Step-By-Step Drawing Tutorial: Your First Procreate Cactus
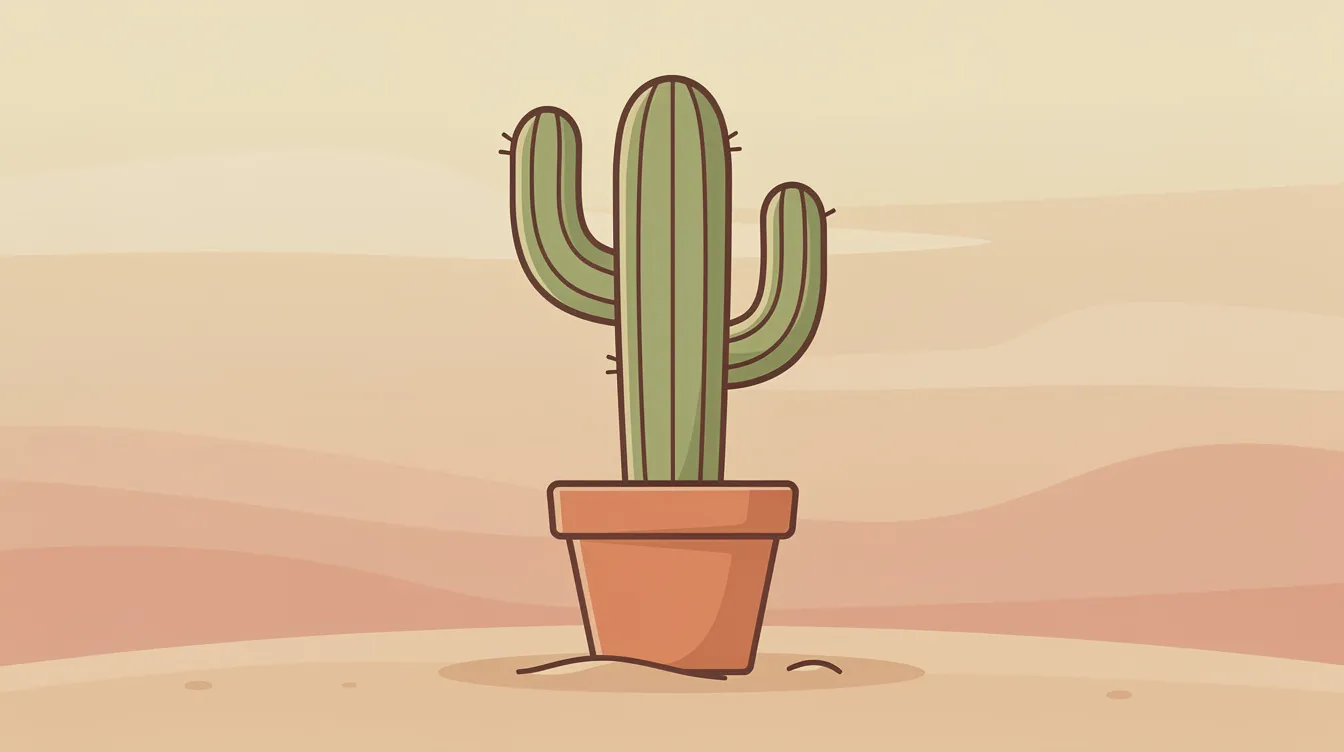
I start drawing tutorials with a cactus because I live in Tucson and the shapes are simple but satisfying. My first greyhound drawing looked like a coat hanger with ears, so I learned that copying simple objects like a cactus or a mug first taught me proportion better than any setting or filter.
Here is the full process, using only the basic tools from the previous sections. Aim for 30 to 45 minutes.
-
Create a new canvas. Screen Size or around 2000 by 2000 pixels.
-
Rough sketch. Pick a light blue or grey color. On your first layer, sketch a simple saguaro shape: a tall oval body, two curved arms. Keep it loose.
-
Clean outline. Add a new layer above the sketch. Switch to Studio Pen. Trace the cactus with a cleaner, darker green line.
-
Flat color. Add a layer underneath the line art. Fill the cactus shape with green using ColorDrop or a large brush. Add a terracotta pot or sandy ground on the same or another layer.
-
Background. On the lowest layer, paint a simple sky gradient or flat warm color. Use the Smudge tool with a soft brush to blend the sky if you want.
-
Shading. Add a new layer above the flat colors and set it as a clipping mask. Using Clipping Masks adds depth and texture to illustrations. Pick a slightly darker green and paint shadows on one side of the cactus with the Airbrush.
-
Details. On another new layer, add tiny flowers with a small hard brush, little spines, or a few texture dots.
That is seven steps and a finished piece. Hide the sketch layer. Look at what you made. It does not have to be perfect. It has to be done.
Going Further With Painting Tools: Color, Texture, and Light
Once the fundamentals felt automatic (about a month in for me), I started reaching for a few extra tools. I moved from flat cartoons to more painterly illustration one small experiment at a time.
Blend modes sound complicated but you only need two at first. Procreate offers over 15 blend modes for artwork, but here is what I actually use: a Multiply layer for shadows (it darkens whatever is below) and an Add or Screen layer for glowing highlights, which looks wonderful on a night sky. I still limit myself to two or three brushes per piece to avoid decision fatigue: the 6B Pencil, a textured brush for scratchy desert ground, and the soft Airbrush.
Mini night scene project:
-
Dark blue gradient sky (Airbrush, two blues blended with the Smudge tool for smooth color transitions).
-
Distant purple mountains on a new layer.
-
Silhouetted saguaros in near-black on a layer above.
-
Stars scattered with a spatter brush at low opacity, some brighter, some faint.
For colors, I made a palette I call Tucson Sunset: dusty orange, cactus green, warm sand, deep indigo, pale pink. Playing with warm vs cool taught me more about color than reading about it. Skip hunting for the perfect brush pack. The default range covers what beginners need, and you can add texture with overlay blend modes or a grain brush later.
Editing Tools That Actually Matter For Beginners
I ignored Procreate’s editing tools for months, which was fine until I drew a portrait of Biscuit with a head twice the size it should have been. That is when I discovered Transform and Adjustments could save drawings I almost abandoned.
-
Selection tool: Freehand or automatic (color-based). I used freehand to select only the dog’s head, then switched to Transform to resize it without touching the body. You can also manipulate selected parts freely.
-
Transform tool: Scale, rotate, or skew anything you have selected. I use it to nudge elements into better composition or to fit artwork onto an 8 by 10 canvas for printing.
Three Adjustments worth knowing early:
-
Gaussian Blur (magic wand, then Gaussian Blur): tap and drag to soften distant edges. Creates a sense of depth.
-
Hue/Saturation/Brightness: shift the mood of a piece. I cooled down an orange sky that was too aggressive by sliding the hue slightly toward blue.
-
Liquify: Procreate’s Liquify feature allows for creative distortion of artwork. I use it sparingly to straighten a crooked muzzle or adjust curves. Procreate’s Liquify feature also allows for dynamic artwork manipulation, but go easy because it can wreck details fast.
Using The Actions Menu, Canvas Guides, and Drawing Guides
The wrench shaped Actions menu has a lot of tabs, and most of them you can ignore for now. Learn three things from it and you are set.
First, inserting a reference photo. Tap the wrench, then Add, then Insert a Photo. Shrink it and park it in a corner of the canvas, or switch on Reference from Canvas settings to float it in a separate window. Lower its opacity, create a layer above, and sketch from it. The Actions menu includes tools for inserting images and animations, so it is worth exploring later, but the photo trick alone is worth knowing. Also try flipping the canvas horizontally from the Canvas tab. It exposes wonky proportions instantly. I flip every greyhound portrait at least once.
Second, drawing guides. Go to Canvas, toggle Drawing Guide on, then tap Edit Drawing Guide. You get options for 2D grid, isometric, perspective, and symmetry. Drawing Guides help create structured designs in Procreate, and Procreate features drawing assists such as grids and perspective guides for different effects. For a quick fun project, try radial symmetry: use the Radial Symmetry tool for mandalas or simple flowers. Every stroke you make on one section mirrors across all the others. Practical uses include keeping hand lettering straight, centering a quote, or aligning citrus slices in a seamless pattern.
Hand Lettering In Procreate For People With Messy Handwriting
My handwriting looks like a seismograph reading during an earthquake, which is exactly why I love doing hand lettering in Procreate. Digital lettering is forgiving in ways paper never will be.
Mini project: letter the phrase “Two Finger Undo.”
-
Turn on a Drawing Guide grid so your letters sit on a baseline.
-
Sketch the letters loosely on one layer with the 6B Pencil.
-
On a new layer above, write the final version with a monoline or calligraphy brush. Hand lettering can utilize unique brushes in Procreate, and there are dozens in the default Calligraphy set.
-
Add decoration or flourishes on a third layer so you can move them without disturbing the words.
The creative process becomes fun when you realize you can undo any letter, transform individual characters with the arrow tool, recolor a whole word with Hue/Saturation, and copy and paste flourishes. Tracing a reference alphabet or your own pencil lettering photo is a perfectly fine starting point. You can even animate lettering to appear as if it is being written, using Animation Assist, once you are ready to discover that side of Procreate.
From Photos To Finished Art: Tracing, References, and Ethics
I traced my own photo of Biscuit sleeping on the couch, and for a while I felt guilty about it. Then I realized tracing is a learning tool, not a dirty secret. Animal illustrations can be traced from reference photos in Procreate, and it teaches you to see shapes, proportions, and where shadows fall.
Simple tracing workflow:
-
Tap the wrench, then Add, then Insert a Photo.
-
Lower the photo’s opacity so it is faint.
-
Create a new layer above. Sketch the main shapes with a pencil brush.
-
Hide the photo. Clean up the sketch. You now have your own drawing informed by a real image.
I use photos three ways: tracing my own pictures for practice, loose referencing where I glance at a photo but draw freehand, and side by side studies where the photo sits next to my canvas and I observe without tracing.
Ethics in plain language:
-
Tracing your own photos is fine.
-
Using royalty-free reference libraries is often fine.
-
Copying someone else’s illustration exactly and posting it as your own is not fine.
Saving, Exporting, and Sharing Your Procreate Art
The first time I finished a drawing I actually liked, I stared at the export menu for two minutes, terrified I would press the wrong button and lose quality. It is not that complicated once you know three things.
-
.procreate format: Keeps all your layers, blend modes, and history intact. This is your master file. Back it up to cloud storage weekly.
-
PNG: Lossless quality, supports transparent backgrounds. Good for printing or sharing crisp images.
-
JPEG: Smaller file size, no transparency. Fine for Instagram or texting a friend.
My export steps: Tap the wrench (Actions menu), tap Share, choose PNG, save to Photos. Done.
The duplicate habit: Before any risky move like merging layers or major edits, swipe left on the artwork thumbnail in the gallery and tap Duplicate. I have saved myself grief more than once this way.
One file size tip: large canvases on older iPads mean fewer available layers and bigger exports. If you are doing a quick sketch, a modest canvas size keeps everything fast and light.
Daily Practice, Drawing Tutorials, and Learning Procreate Long Term
I estimate heating and cooling jobs all day and then draw for fifteen to thirty minutes in the evening. That is enough. Fifteen minutes on a timer beats an hour hovering over a blank canvas wondering what to draw. Set the timer and start.
My schedule looks like this: short weekday sketches of whatever is in front of me (a mug, Biscuit’s ear, a pile of mail), one longer weekend session where I work through a full process drawing from sketch to export, and occasional focused studies of tricky subjects like hands or dogs. I also keep one messy experiment canvas with no title and no pressure, where I try different brushes and techniques without worrying about the result.
When I watch YouTube drawing tutorials, I look for three things: a beginner friendly pace, a clear view of the Procreate interface, and simple projects I can finish in one sitting. Plenty of creative professionals and surface designers post helpful videos, but the ones that teach me the most are the quiet, practical ones, not the flashy speed-paints.
A four-week practice path for Procreate beginners:
-
Week 1: Cactuses and plants. Simple shapes, forgiving proportions.
-
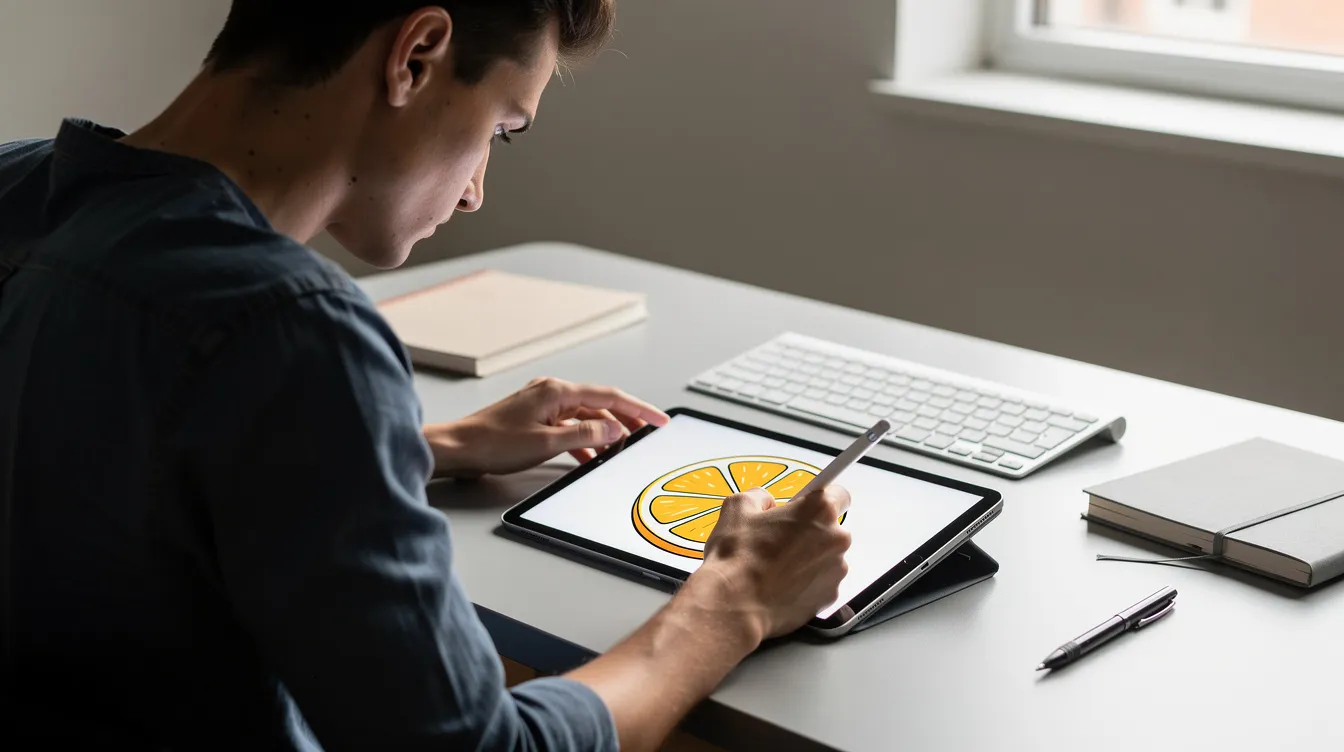
Week 2: Citrus fruit. Citrus fruit illustrations are easy for beginners in Procreate and teach you circles, color fills, and basic shading.
-
Week 3: Animals from reference photos. Trace one, draw one freehand, compare.
-
Week 4: Simple hand lettering. A quote, a name, or song lyrics.
Keep a gallery of your early work. Scrolling back to my first month is the best motivation I have found. Ignore social media that makes everyone look like they started with perfect painted portraits. Compare against your own earlier drawings, not strangers on the internet.
Common Beginner Mistakes In Procreate (That I Keep Making)
I still draw on the wrong layer about once a week. It is annoying every single time, and it is completely normal.
-
Drawing everything on one layer past the first week. You lose the ability to fix one part without wrecking the rest. Fix: use at least three layers (sketch, lines, color) for every piece.
-
Using too many brushes. Switching constantly causes decision fatigue and slows your drawing process to a crawl. Fix: pick two or three brushes per piece and commit.
-
Working at tiny canvas sizes. Your finished images will look blurry or pixelated. Fix: know your output. 300 DPI for print, at least 2000 pixels wide for sharing.
-
Never flipping the canvas. Biases in your line work accumulate and you will not notice until someone points them out. Fix: flip horizontally from the Canvas tab every few minutes.
-
Drawing too slowly and carefully. This is the main cause of wobbly lines, not a bad stylus. Fix: draw faster, raise Streamline slightly, and draw from the shoulder.
-
Overusing fancy effects. Glow layers and heavy blur can mask weak drawing skills and shapes underneath. Fix: build a good foundation with strong shapes first, add effects last.
-
Comparing your first month to people who have drawn for years. This is the cruelest mistake. Fix: compare your current drawing to your own work from two weeks ago. That is the only honest measurement.
Putting It All Together: Your Own Full Process Project
You now have enough tools and techniques to plan a complete project. Here is my idea, rooted in my life in Tucson: a desert night quote poster that combines cactus silhouettes, a starry sky, and hand lettered words.
Phases:
-
Collect reference photos of saguaros and night skies.
-
Rough sketch the composition on one layer.
-
Clean line art on a new layer (or skip lines for a painterly style).
-
Flat colors on layers beneath the lines.
-
Shading and highlights using clipping masks and blend modes.
-
Hand lettering on its own layer, with a Drawing Guide for alignment.
-
Final Adjustments: tweak Hue/Saturation, add a subtle blur to the background for depth.
-
Export as PNG. Back up the .procreate file.
Procreate’s Animation Assist simplifies creating animations, so if you want to go further, you can create GIFs using Procreate’s Animation Assist feature. You can animate lettering, make stars twinkle, or even create morph animations for dynamic illustrations. You can create animations in Procreate with five different techniques, but save that exploration for after you have finished a few still pieces. Seamless patterns are also popular for surface design in Procreate, and they are a natural next step once you are comfortable with layers and guides.
Repeat the same project idea several times over the next year. Your style, your skills, and your creativity will grow in ways you cannot predict. That growth is the whole point.
Open Procreate right now. Start a new canvas. Draw one shape. That is the first tiny step, and it is enough.
Conclusion: Learning Digital Art One Undo at a Time
Procreate turned drawing from something I avoided into a daily habit, and I still spend my days pricing air conditioning jobs. Progress did not come from owning the newest iPad or taking expensive courses. It came from regular, low pressure practice with basic tools, from finishing small pieces even when they looked off, and from the comfort of knowing I could always undo.
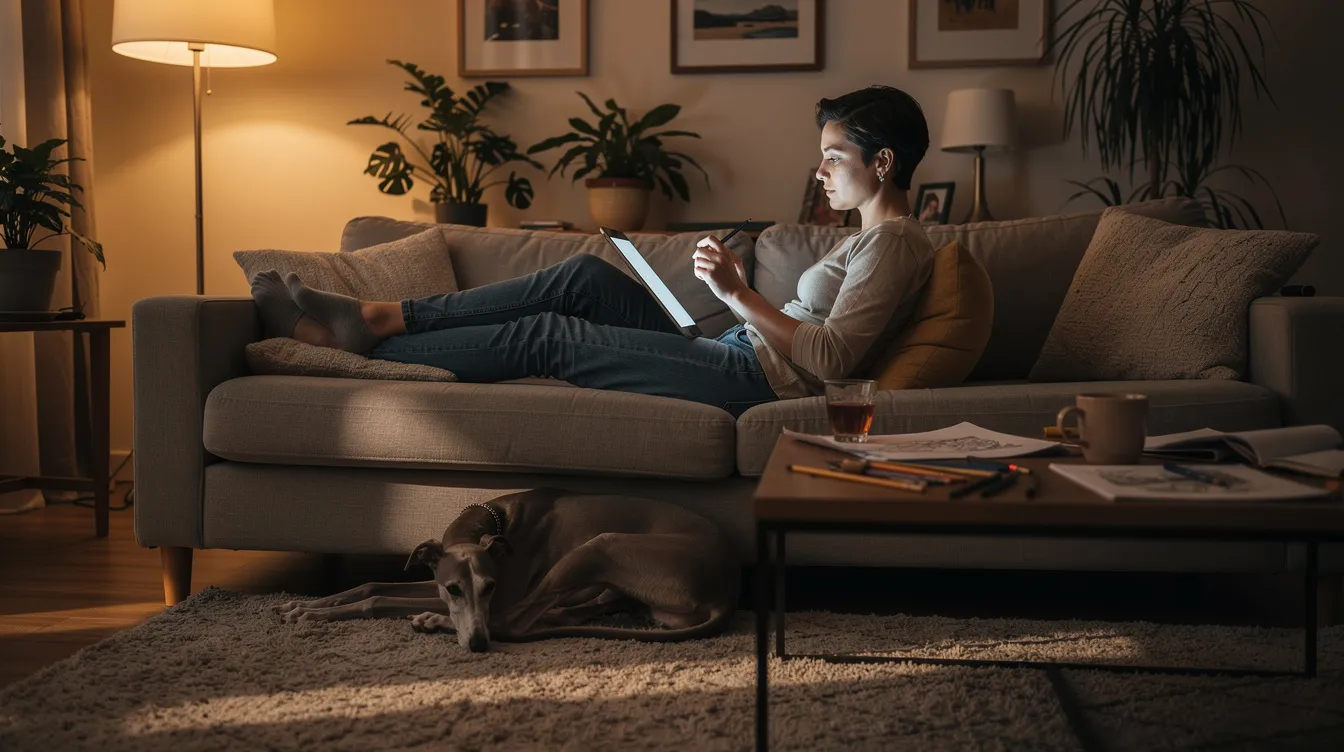
Every drawing I have made, even the weird ones, started with a blank canvas and ended with me still on the couch with Biscuit on my feet. Two fingers to undo, three fingers to redo, and the stubborn decision to keep going. That is the whole method, and it works in Procreate and in life.
FAQ
How long does it take to feel comfortable in Procreate? For me, about three weeks of near daily drawing before the gestures became automatic and I stopped hunting for buttons. The drawing itself took much longer to improve, and that is normal. Comfort with the interface and comfort with art are two different timelines.
Do I need an Apple Pencil to draw with Procreate? No. Finger drawing works for practice, and a budget stylus is fine for learning, though a stylus gives you finer control and less fatigue. Apple Pencil adds pressure sensitivity and tilt, which matter more as your drawing skills develop, but plenty of beginners start without one and do great work.
Why does my line look different from what I meant to draw? Usually a mix of the slick screen, drawing too slowly, and your sitting angle. Try rotating the canvas so curves flow with your hand’s natural arc. Draw with your whole arm instead of just your wrist. Raise the Streamline setting in the brush’s Stabilization menu a little. And zoom out, because rough lines often look fine at a distance.
Should I take a course first? I did not. I learned the basics by drawing a little each day and reading the official Procreate Handbook when I got stuck. A course suits people who like structure and want resources laid out for them, but it is not required. The most helpful thing for me was finishing small pieces rather than studying a lot without finishing anything.
What should I draw first? Something in front of you that you do not care about. A mug, a shoe, a houseplant, or a sleeping dog. Low stakes objects make it easy to keep going because nothing is precious. You are not making art for a gallery. You are learning where the buttons are and how to look at shapes, and any object in your life will teach you that.