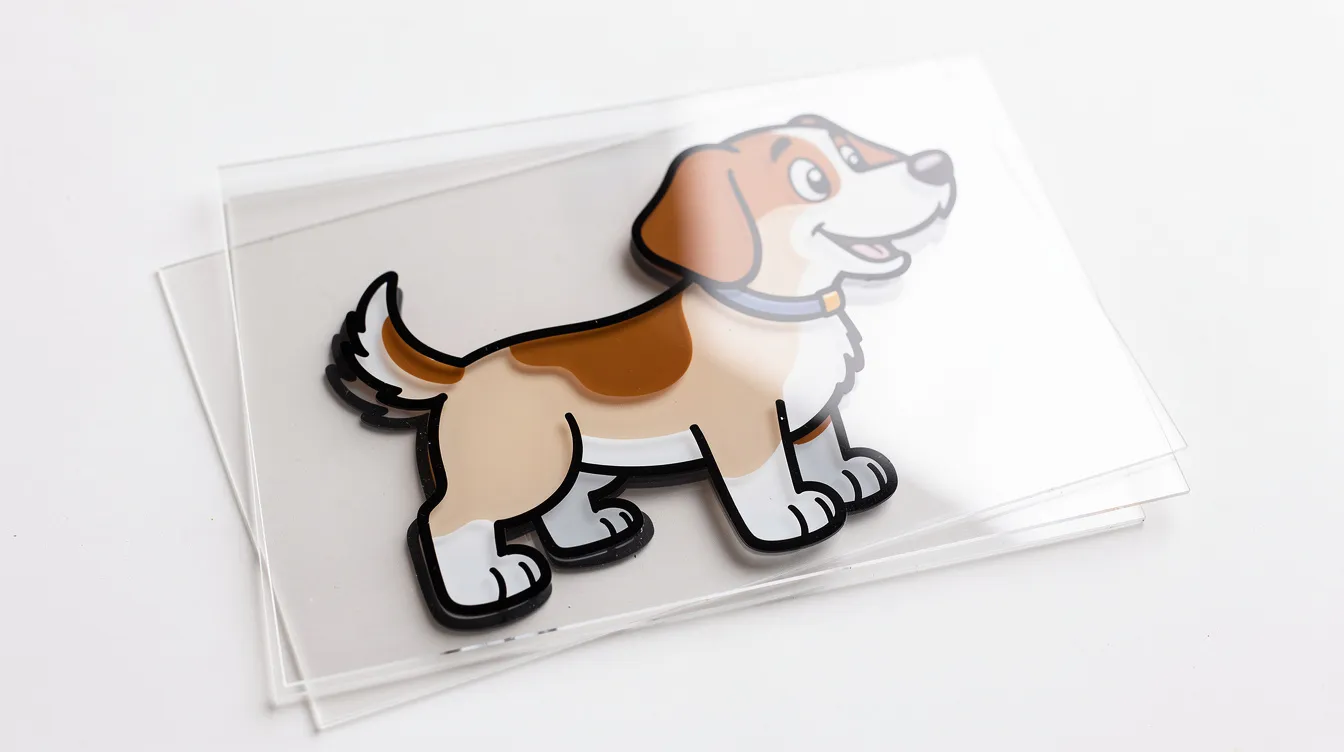
Eighteen months ago I bought a secondhand iPad from a coworker’s cousin in Tucson so I could draw my rescue greyhound, Biscuit, without burning through sketchbooks. The first real thing I learned, after two finger undo, was layers. Layers in Procreate work like transparent sheets stacked together: you put different elements on each one, and changing one part of your drawing does not wreck the rest. That single idea made me stop fighting the screen and start enjoying what I was making. Before you spend money on the app, you may also want to know whether Procreate is free.
This is a simple guide to the layers panel, when to make a new layer, how many layers your iPad can handle, and tricks like clipping masks and blend modes, in the order I wish someone had explained them to me. I am a hobbyist, not a teacher. If something worked for me, I will tell you. If I messed it up first, I will tell you that too.
What Is A Layer In Procreate, Really?
Think of a single layer as one transparent sheet on an overhead projector. Stack several of these transparent sheets and the audience sees them as one image, but you can lift any sheet off the pile and the others stay untouched. At my day job I estimate heating and cooling installations, and a set of building plans works the same way: walls on one sheet, ductwork on another, electrical on a third. Procreate layers follow the same idea, except the sheets hold line art, color, shadows, textures, or text, and they all show together on the canvas even though you only edit one layer at a time.
Every canvas starts with one layer plus a separate Background Color layer you cannot draw on. The stacking order determines visibility: whatever sits at the top of the list appears in front, and whatever sits at the bottom hides behind everything else. That order rule explains most beginner confusion. If your character disappears, it is probably underneath the background. A structured layer hierarchy like this mimics traditional media organization, and Procreate shares the model with most drawing apps. For the background reading, the Wikipedia article on layers in digital image editing covers the formal idea.
Getting To Know The Layers Panel
The layers panel lives behind the icon of two overlapping squares in the top right of the screen. Tap it and a list of your layers slides out. Procreate’s interface provides easy tools to create, delete, and organize layers from this one panel.
Each row shows a layer thumbnail, a tiny preview of whatever is on that layer, and a visibility checkbox that toggles the layer on or off. The active layer is highlighted in blue, and anything you draw, erase, or transform affects only that layer. The layer select tool and quick layer select let you tap directly on the canvas to jump to the corresponding layer, which helps when you have many layers and lose track.
I will confess something: in my first month I spent ten minutes carefully shading Biscuit’s ear before realizing I was on the outline layer and could not move the shading without moving the outlines. Check the blue highlight before you start.
At the bottom of the panel sits the Background Color row, which is separate from your “real” layers. At the top, the word “Layers” opens the layers menu with bulk actions like select all, merge, and delete, which I will cover later.
Creating A New Layer And Understanding Layer Options
The main skill beginners need is adding a new layer at the right time. Tap the plus icon in the layers panel and a new layer appears directly above the selected layer. You can create new layers up to your device’s limit.
Typical uses for a separate layer:
-
Sketch on one layer
-
Clean line art on another
-
Flat colors on a third
-
Shading and highlights on their own layer
-
Background kept apart from the main subject (dog vs. sky, for example)
Tapping the layer name or layer thumbnail opens layer options: Rename, Select, Copy, Fill Layer, and Clear. Each affects only that layer. Rename changes the label. Copy duplicates the layer contents onto a new layer. Fill Layer floods it with a new color. Clear removes all artwork but keeps the layer slot.
My beginner routine: sketch layer with its opacity pulled down so the lines are faint, a new layer for ink, then another for color. When Biscuit’s blanket covers her legs, I drag the blanket layer below the legs layer and the problem is fixed in a second. Layers allow editing without affecting other parts of artwork, which is the whole point.
How Many Layers Can You Have? Canvas Size, RAM, And Layer Limit
Procreate has a hard layer limit, and it confused me when I hit it the first time. Layers have a maximum limit based on device RAM and canvas size. To check yours: wrench icon, Canvas, Canvas Information, Layers. Procreate also shows the maximum when you create a new canvas, and the number at very large sizes can surprise you.
The larger your canvas in pixels, the fewer layers you get. High-resolution canvases limit the number of layers you can use in Procreate. On a 12 GB RAM iPad Air with an M4 chip, a 3000 by 3000 pixel canvas at 300 DPI allows about 145 layers. Bump that to a 16 by 16 inch canvas at 300 DPI and the layer count drops to about 54. You can create up to 100 layers in Procreate depending on canvas size, and on small canvases with lots of RAM the count goes even higher.
Changing DPI alone, without changing pixel width and height, does not change the count if your canvas units are already in pixels. Older or cheaper iPads, like my secondhand one, allow far fewer layers, so I keep my canvases moderate.
Pro tip: plan ahead. Merge layers you no longer need separate, and use groups instead of endless single layers. Combine layers that are finished and no longer need individual control.
Naming, Moving, And Organizing Layers So You Don’t Go Crazy
I once had “Layer 1, Layer 2, Layer 27” in a portrait of Biscuit and could not find the eyes to fix them. Once you have more than six layers, unnamed layers tell you nothing. Disorganized layers cost minutes you could spend drawing.
Rename layers by tapping the layer name, choosing Rename, and typing something useful. Customizable layer names help track content on each layer. I use plain names like “outline,” “fur shadow,” and “collar.” If you want structure, try prefixes: “S-” for sketch, “C-” for color, “FX-” for effects, or categories like “Dog eyes” and “Background sky.” Naming layers helps keep your artwork organized, and renaming layers improves organization over time.
Hold and drag a layer to move it up or down in the panel, which changes the stacking order. To group layers, swipe right on each one you want, then tap Group. Grouping layers acts like folders for related elements: one group for “Character,” one for “Background,” one for “Text.” Collapsing groups keeps long stacks manageable and helps you stay organized.
Showing, Hiding, Locking, Duplicating, And Deleting Layers
These are the everyday actions. Quick list:
-
Visibility: layer visibility can be toggled on or off using a checkbox next to the layer thumbnail. You can hide layers to focus on specific elements. Long-pressing the checkbox solos that one layer and hides all other layers. I use this constantly to compare my drawing with and without the sketch lines.
-
Locking: swipe left and tap Lock to prevent accidental drawing. Perfect for a sketch you keep as a guide. Drawing on a locked layer triggers a warning popup.
-
Duplicating: swipe left and tap Duplicate. This is how I make a safe copy before anything risky, like big color changes or adding textures I am not sure about.
-
Deleting and clearing: swipe left on a layer to delete it. This is permanent unless you immediately tap the canvas with two fingers to undo. Clear, found in the layer options, only empties the artwork and keeps the layer slot in place.
Combining, Selecting, And Moving Multiple Layers At Once
When a drawing grows to multiple layers, you may want to move a whole object, like a character, without flattening everything. Select multiple layers by tapping the first layer (it turns blue), then swiping right on the others (they turn a lighter blue). Use the Transform arrow tool and drag to move everything on all selected layers together.
To combine layers, pinch them together in the panel or choose Merge Down from the layers menu. The layers menu allows bulk actions like merging and grouping layers. But merging is destructive: after it, the layer contents sit on one layer and cannot be separated except by Undo. Merging layers can also reduce the total number of layers available in your file going forward.
Habit I recommend: duplicate layers or groups before a big merge and hide the safety copy at the bottom of the panel.
Clipping Masks, Masks, And Reference: Non-Destructive Tricks That Saved Me
These sounded advanced to me at first. They are not. They are gentle ways to avoid destroying a drawing.
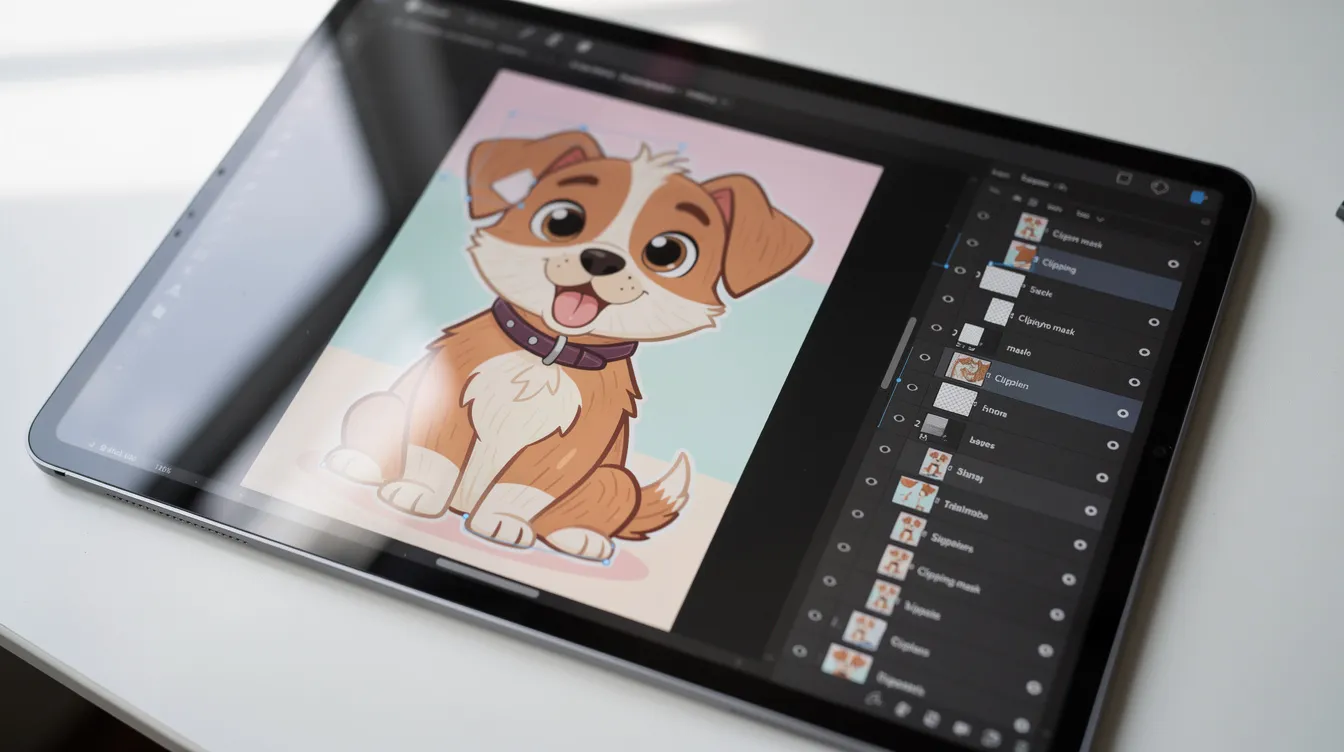
Clipping mask: create a new layer above a base layer, then set it to Clipping Mask in the layer options. The clipped layer only shows where the base layer has opaque pixels. Example: I paint a flat gray coat for Biscuit on her own layer, then add a clipped layer for fur shading and another for color variation. Clipping masks allow non-destructive texture application, and if I get messy, nothing escapes the shape. You can use multiple clipping masks on a single layer, stacking different things like shadows, textures, and highlights above the same base.
Layer mask: add a mask from the layer options. Paint black on the mask to hide parts of that layer; paint white to reveal them; gray to half hide. Black conceals and white reveals in layer masks. Layer masks enable erasing without permanent deletion, which means you can bring details back later instead of reaching for the eraser and losing them forever.
Reference layer: set your inked line art as Reference, and ColorDrop on other layers follows the line boundaries. This keeps lines and colors on a separate layer, which solves the problem of accidentally filling outside the outlines.
Blend Modes, Opacity, And Changing Color On One Layer
Tap the letter on the right side of a layer row (usually “N” for Normal) and a panel opens. At the top is the opacity slider. Below it, blend modes.
Opacity controls how transparent a layer is for visual effects. I pull a heavy pencil sketch down to about 30 percent so it becomes a faint guide to ink over. It also softens strong textures if they overpower a drawing.
Blend modes change how layers interact with one another visually. The colors on a different layer mix with the layers underneath based on the mode you choose:
-
Multiply for shadows (my go-to when shadows look weak)
-
Screen for glows and highlights
-
Overlay for contrast in midtones
Beginner experiment: duplicate a shading layer, switch its blend mode, and adjust opacity before committing. You will see how the same layer of gray can look like a soft shadow or a harsh burn depending on the mode.
For readers curious about the math behind transparency, the Wikipedia article on alpha compositing covers it, though you do not need it to draw. If you want a plainer reference, try the reference page on alpha compositing.
Recoloring a layer: Alpha Lock (two finger swipe right on a layer, or from the layer options) shows a checkerboard behind the layer name. Alpha Lock only allows painting on existing pixels in a layer, so you can scribble a new color over line art without leaving the lines, or use Fill Layer to recolor the white part of a shape. Repeat the gesture to turn it off.
Practical Layer Setups: How I Use One, Few, Or Multiple Layers
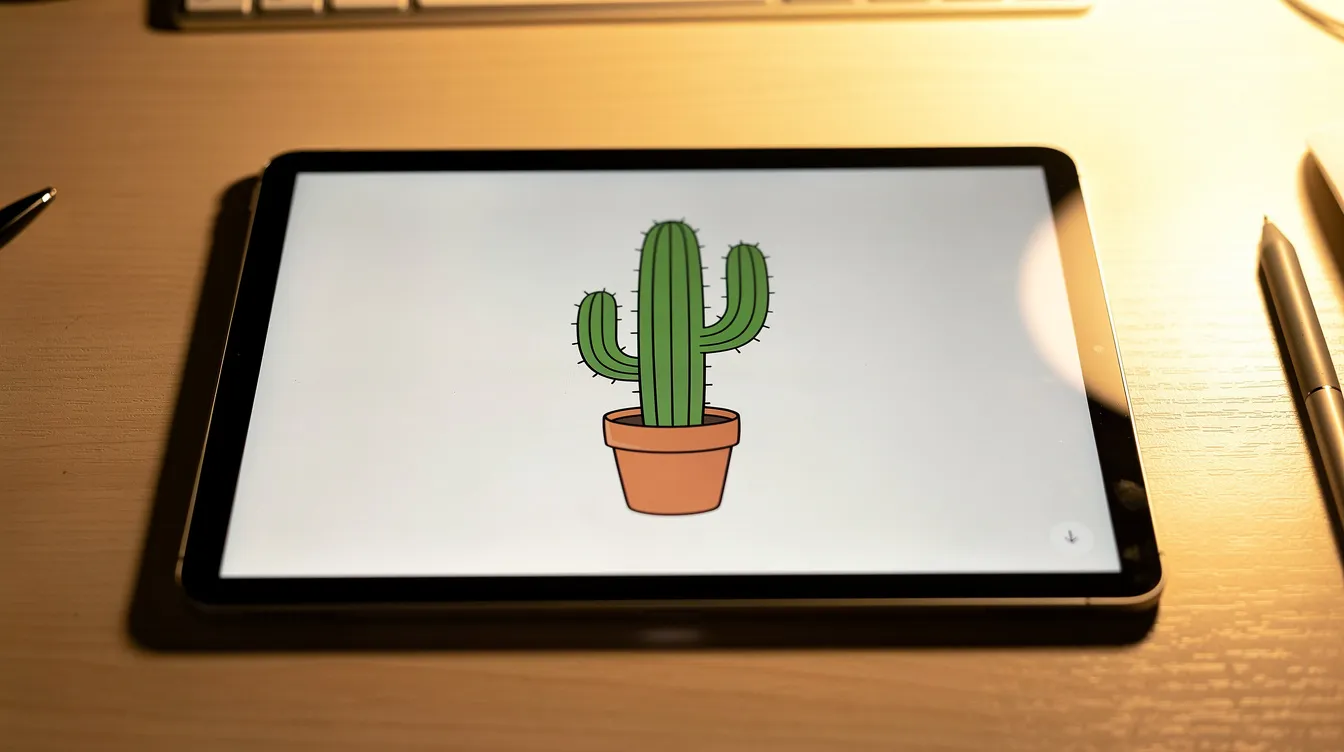
One layer: a five-minute cactus doodle from my Tucson neighborhood to practice confident strokes. No layer limit worry, no overhead.
Simple character setup (bottom to top): background, sketch, flats, shadows as a clipping mask, highlights as a clipping mask, line art as the top layer. The first layer of color sits under the line art so edges stay clean. The small final highlight layer for the shine on an eye or nose looks minor but gives the drawing pop. It looks like a lot, but fixing one wobbly outline is easier than redrawing a whole image.
Complex portrait: groups like “Skin,” “Hair,” “Eyes,” and “Clothes,” each holding layers for base color, shadows, and details. Complex designs need this kind of structure or rogue layers pile up fast.
Animation, briefly: with Animation Assist on, each layer can act as a frame, though details belong in a different article.
Start with two or three additional layers and add more only when a drawing needs them. If your lines still wobble, the tool matters too: an Apple Pencil gives pressure sensitivity that cheap styluses often lack, and your creative process changes when the pen responds to how hard you press. I wrote about what stylus a beginner needs from my own trial and error with cheap ones, for any Procreate user whose shaky lines come from the pen rather than the app.
Common Beginner Mistakes With Layers (And How I Fixed Them)
I still tap the wrong layer sometimes. That is normal.
-
Drawing on the wrong layer. Inking on the sketch layer or coloring on the background. Check the blue highlight before each step. Every time.
-
Too many unnamed layers and one giant layer for everything. Names take two seconds and save minutes. A single layer for all your art leaves undo as your only safety net. Clean as you go: delete empty layers, rename the rest so you can find layer contents fast.
-
Forgetting Alpha Lock is on. If your brush will not paint outside a shape, look for the checkerboard on the same layer. Two finger swipe to turn it off.
-
Hitting “Maximum number of layers reached” right when you want new details. Check the layer count in Canvas Information now and then so it does not surprise you.
-
Overusing merge. Keep layers separate while you are experimenting. Merge only when that part of the art truly feels done.
Layer choices become instinctive the more you draw. Layers are the longer-term version of the two finger tap undo that gave this blog its name: a way to protect your artwork from your own experiments.
Wrapping Up: Building Comfortable Layer Habits
You do not need every layer option at once. Start with new layer, rename, move, and hide. Try one small drawing using lots of layers and another using one or two, to feel the difference in flexibility and find different ways to work.
I am a hobbyist who estimates HVAC jobs by day and draws greyhounds by night, so adapt these habits to your own routine. Pick one new trick from this article, like clipping masks or Alpha Lock, and use it in your next session so it sticks. That is how you create muscle memory. The stuff that seemed confusing a month ago will feel automatic, and your art will be easier to fix, change, and finish.
FAQ
How do I add a new layer in Procreate? Open the layers panel tap the two overlapping squares icon in the top right, then tap the plus sign. The new layer appears above the selected layer.
How do I delete a layer? Swipe left on it and tap Delete. A two finger tap on the canvas undoes a mistaken delete if you catch it right away.
What is the difference between merging and grouping layers? Merging flattens layers into one, and you lose the ability to edit them separately. Grouping puts them in a folder and keeps each layer editable. Use grouping while you are still working; merge when you are done.
Why won’t my brush paint outside a shape? Alpha Lock is probably on. Look for the checkerboard pattern behind the layer name and swipe right with two fingers to turn it off.
Do I need lots of layers to make a good drawing? No. Two or three (sketch, color, line art) are enough to start, and you add more only when you need separate control over different elements. Many color palettes, tutorials, and complex designs use more, but do not worry about matching them right away.